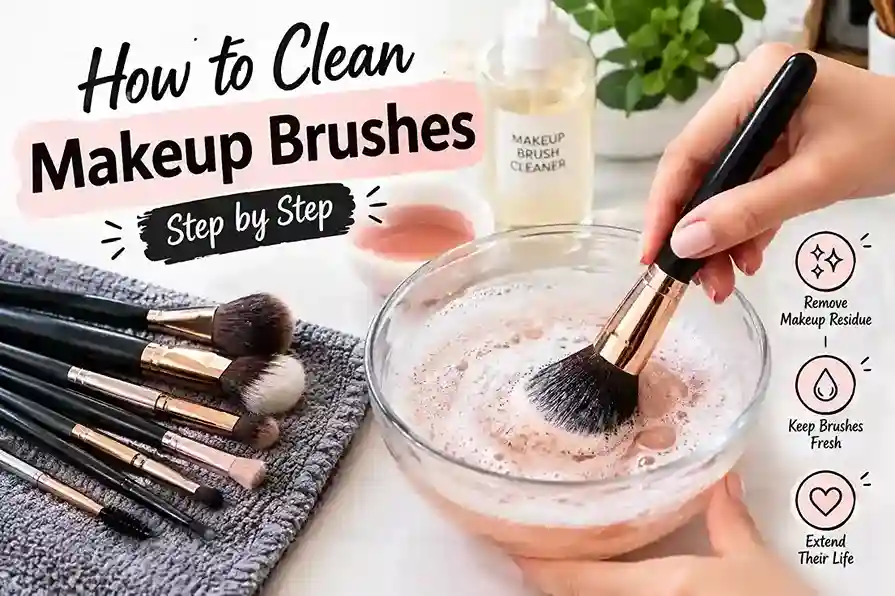
How to Clean Makeup Brushes the Right Way (Step-by-Step)
Your foundation brush hides more bacteria than a toilet seat, and it touches your face every single morning. Clogged bristles spread old product, trap oil, and trigger breakouts you can’t explain. This guide shows you exactly how to clean makeup brushes the right way, using tools already in your bathroom, so your skin stays clear and your brushes last for years.
Why Cleaning Your Makeup Brushes Actually Matters
Every swipe across your face deposits skin cells, oil, and old product back onto the bristles. That buildup doesn’t sit quietly — it feeds bacteria.A peer-reviewed study from Aston University tested used cosmetic products and applicators for contamination. Researchers found that most of the samples carried bacteria, including strains of E. coli and Staphylococcus aureus. Sponges and blenders came out worst, since the majority were rarely washed and often dropped on bathroom floors during use.Dermatologists connect this directly to skin problems. Dirty brushes collect residue, dirt, and oil, turning into a breeding ground for bacteria that can trigger acne breakouts and rashes. Knowing how to clean makeup brushes correctly removes that risk before it reaches your skin.
How Often to Clean Makeup Brushes
Frequency depends on the tool and how often you use it. Dermatologists recommend washing brushes every 7 to 10 days to protect skin and reduce harmful bacteria.
| Tool | Recommended Cleaning Frequency |
| Foundation/liquid brushes | Weekly |
| Powder/blush brushes | Every 1–2 weeks |
| Eyeshadow brushes | Weekly, or after each color change |
| Beauty sponges/blenders | After every use |
| Eyeliner/lip brushes | Weekly |
| Brushes used on acne-prone skin | Every 3–5 days |
If you share brushes with anyone or apply makeup for clients, wash after every single use. Shared tools spread bacteria faster than personal ones.
What You Need Before You Start
Gather these items so the process takes minutes, not an hour:
- A gentle cleanser (baby shampoo, dish soap, or a dedicated brush shampoo)
- Lukewarm water
- A clean towel or microfiber cloth
- A silicone cleaning mat or the palm of your hand
- A shallow bowl (for deep cleaning)
You don’t need expensive brush cleaner to get this right. A mild, fragrance-free soap works just as well as premium formulas from brands like Sephora or Cinema Secrets.
How to Clean Makeup Brushes Step by Step
This is the core method for how to clean makeup brushes safely, without damaging bristles or glue.
- Wet the bristles only. Hold the brush at a slight downward angle under lukewarm running water. Keep water away from the ferrule (the metal part), since moisture there loosens the glue over time.
- Apply cleanser. Place a small amount of soap in your palm or on a silicone mat.
- Swirl gently. Move the brush in small circles for 15–20 seconds. You’ll see color and product lift immediately.
- Rinse thoroughly. Run clean water through the bristles until it runs clear.
- Squeeze out excess water. Use your fingers, not a twisting motion, to avoid stressing the bristles.
- Reshape the brush head. Smooth it back into its original shape while damp.
- Lay flat to dry. Place brushes on their side over the edge of a counter, bristles hanging off, so air reaches all sides.
Repeat this same routine every time you wash, and cleaning stops feeling like a chore.
How to Deep Clean Makeup Brushes Once a Month
Weekly washing removes surface product, but oil-based makeup can sink deeper into bristles over time. A monthly deep clean handles that buildup.
- Fill a bowl with warm water and a few drops of olive oil or gentle shampoo.
- Swirl each brush in the mixture for 30 seconds.
- Rinse until the water runs completely clear.
- Check the base of the bristles for any leftover pigment before drying.
This extra step matters most for brushes used with cream products, since cream clings to fibers longer than powder.
DIY Brush Cleaning Solutions You Can Make at Home
You don’t need a specialty product to master how to clean makeup brushes properly. These simple mixes work well:
| DIY Solution | Ratio | Best For |
| Baby shampoo + water | 1 tsp shampoo to 1 cup water | Daily/weekly cleaning |
| Dish soap + olive oil | 1 tbsp soap, 1 tsp oil, 1 cup water | Monthly deep clean |
| Apple cider vinegar + water | 1 part vinegar, 3 parts water | Natural disinfecting rinse |
| Castile soap + water | Few drops in a bowl of warm water | Sensitive-skin users |
Test any new solution on one brush first. Some natural oils leave residue on synthetic bristles if not rinsed thoroughly.
How to Dry Makeup Brushes the Right Way
Drying gets overlooked, but it prevents two common problems: mold and bent bristles.Never stand a wet brush upright in a cup. Water seeps into the ferrule, softens the glue, and eventually causes bristles to fall out. Instead, lay brushes flat on a towel with the head slightly hanging off a counter edge. This lets gravity pull moisture down and away from the handle, and air circulates evenly around the bristles.Brushes typically take 4–12 hours to dry fully, depending on density. Dense powder brushes take longer than thin eyeliner brushes.
How to Clean Makeup Sponges and Beauty Blenders
Sponges need attention every single use, not weekly. Their damp, porous texture holds bacteria far more than brush bristles.
- Wet the sponge fully under warm water.
- Rub a cleanser directly onto the surface or use a solid cleansing bar.
- Squeeze repeatedly until water runs clear.
- Let it air dry completely before storing it in a closed container.
A sponge that smells sour or has visible discoloration should be replaced immediately, regardless of how new it looks.
Common Mistakes That Damage Brushes During Cleaning
Even people who know how to clean makeup brushes make small errors that shorten a brush’s life:
- Soaking the entire brush, including the handle and ferrule
- Using hot water, which can loosen glue and warp bristles
- Skipping the reshape step, leaving brush heads frayed once dry
- Drying brushes upright, which traps water inside the handle
- Using harsh dish soap on natural-hair brushes, stripping natural oils that keep bristles soft
Fixing these habits alone can double the lifespan of a good brush set.
When to Replace a Makeup Brush
Cleaning extends life, but every brush eventually wears out. Watch for these signs:
| Warning Sign | What It Means |
| Shedding bristles after washing | Glue breakdown, replace soon |
| Bristles that stay bent | Structural damage, won’t reshape |
| Persistent odor after cleaning | Bacteria trapped deep in fibers |
| Frayed or split ends | Reduced blending performance |
| Ferrule feels loose | Handle separation risk |
A well-maintained brush from brands like EcoTools or MAC can last 2–3 years with consistent care. Neglected brushes often need replacing within months.
Habits That Keep Brushes Cleaner for Longer
Small daily habits reduce how much deep cleaning you need:
- Wipe brushes with a dry cloth between uses to remove surface product.
- Store brushes upright in a holder, bristles facing up, when dry.
- Avoid leaving brushes in humid bathrooms, where moisture speeds bacteria growth.
- Keep brushes away from direct sunlight, which can dry out and crack natural bristles.
Consistency matters more than intensity. A quick weekly wash beats an occasional deep scrub.
Frequently Asked Questions
How do you clean makeup brushes without brush shampoo?
Mix a small amount of baby shampoo or gentle dish soap with lukewarm water, swirl the brush in the mixture, then rinse until clear. This works as well as most commercial brush cleaners for regular washing.
How often should you clean makeup brushes?
Dermatologists recommend washing brushes every 7 to 10 days for general use, and daily for brushes used on broken or irritated skin.
Can dirty makeup brushes cause acne?
Yes. Bacteria and oil trapped in bristles transfer directly onto skin with each use, which can trigger breakouts, clogged pores, and irritation over time.
How long does it take for makeup brushes to dry after cleaning?
Most brushes dry within 4 to 12 hours when laid flat with bristles hanging off a counter edge. Dense brushes take longer than thin, tapered ones.
Is it safe to share makeup brushes with someone else?
Sharing cosmetics or tools isn’t recommended, since another person’s bacteria can be transferred and cause infection. Each person should keep and clean their own set.
What household items can replace makeup brush cleaner?
Baby shampoo, mild dish soap, castile soap, and diluted apple cider vinegar all clean brushes effectively without needing a specialty product.
Keep Your Skin Clear, One Clean Brush at a Time
You now know how to clean makeup brushes properly, from the quick weekly rinse to the monthly deep clean that keeps bristles soft and bacteria-free. Pick one day this week, set a 15-minute reminder, and wash your full brush set today. Your skin will thank you by tomorrow morning.